

Kitchens can be many things to many people. For some, they’re simply “the place where we keep the trashcan where we throw out all of our takeout containers and ‘uncrustable’ wrappers”. For others, it’s a lab for creative expression, or a place for fostering family togetherness. And for every single designer on HGTV, kitchens are part of an open floor plan with a massive island in the middle of them.
For me and Anna, the kitchen is a mixture of things: a space to cook meals and mix the occasional cocktail, a place to use the air fryer to warm up french fries we had delivered, and a place to make our morning coffee before we plan out our day. It’s also our dining nook and doubles as a workstation from time to time (oh, and it’s where our washer and dryer are, too).
Our kitchen is a vital room in our home for several reasons, and we spend so much of our time there during the week, which is why we wanted the space to stand out and have its own character from the moment we moved in. So, as we transitioned away from the moody green kitchen we loved so much, we knew we wanted to continue creating a space that brought us joy every time we walked into it.
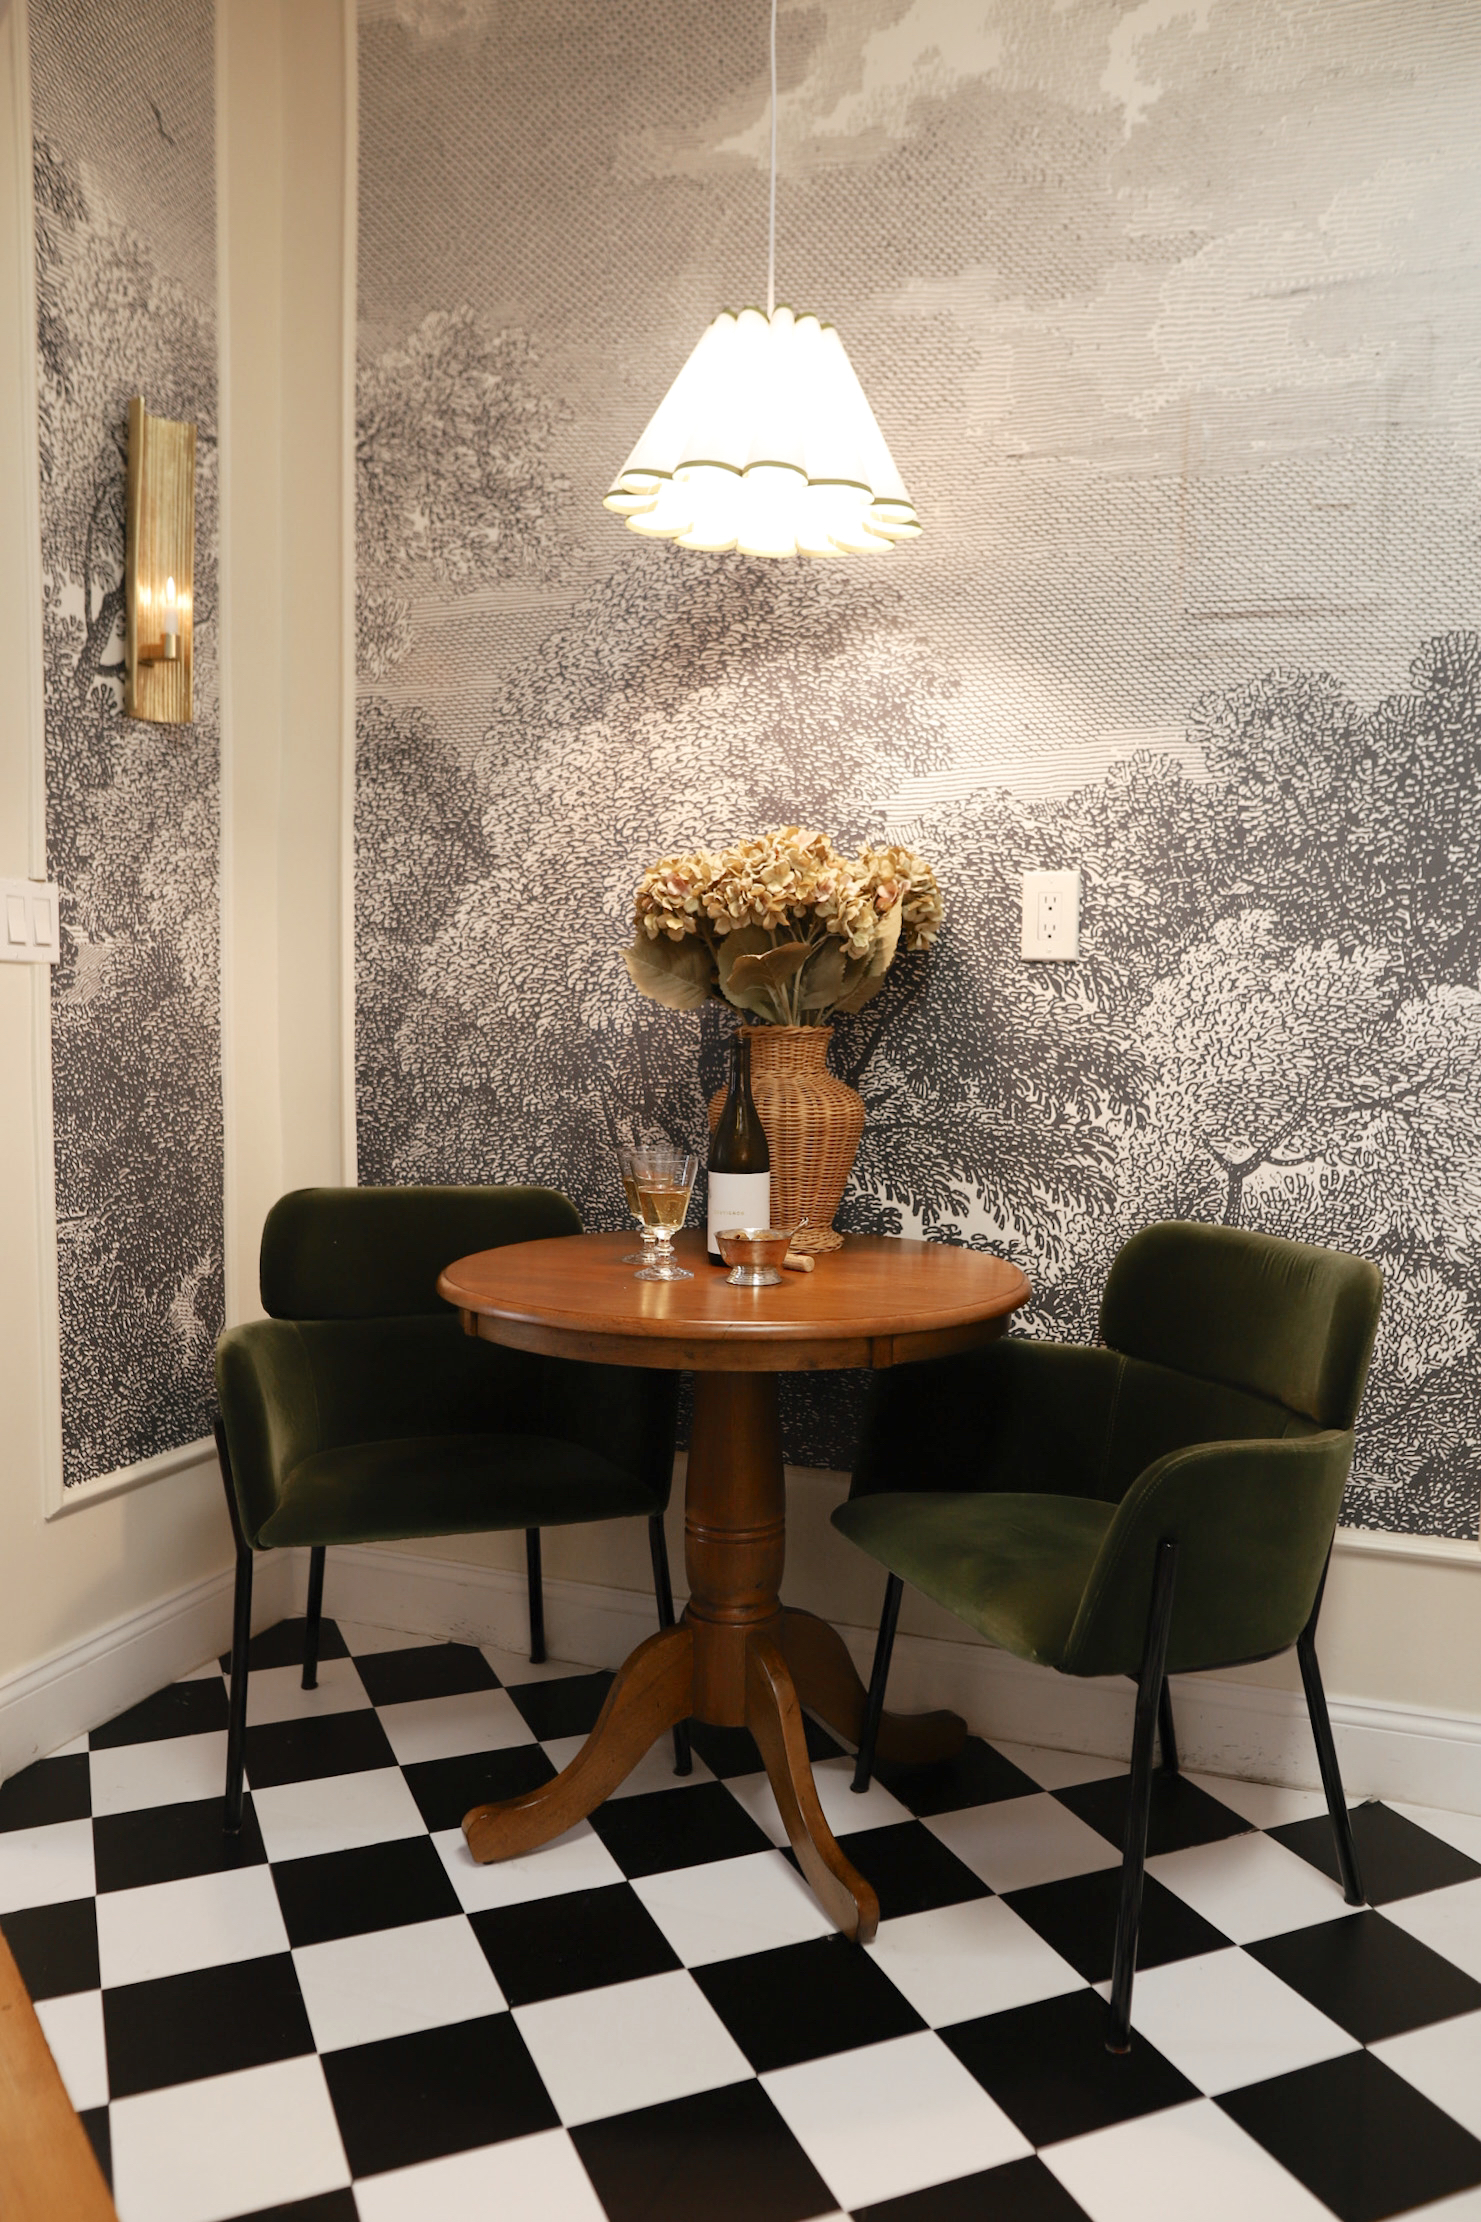
After we painted the kitchen a warm white color to welcome in as much natural light as possible, the mission became to add more interest to the dining nook space, specifically. Although we’re aspiring art collectors, we wanted to avoid accent walls and creating another gallery wall, and after adding some wall molding, Anna found the perfect solution: a wallpaper mural.
We played around with a few ideas of how to use the mural, and ultimately landed on filling in the wall molding with the mural. We felt like this would be a unique way to employ a bold decorative choice in a way that didn’t overwhelm us or feel out of place.
Now that we’ve had the wallpaper mural for a few months, we wanted to share a bit about the process for installing it and how we like living with it to this point.


The Wallpaper
While there are tons of options online, we ultimately went with the York Wallcoverings option at Anthropologie. It’s a 9′ x 12′ mural, broken into 8, 18″ wide panels. The wallpaper comes with adhesive already applied, so all you have to do is add water and follow the simple steps to apply it — it also claims to be easily removable. This digitally printed design looks the same in person as advertised, and comes packaged with all 8 panels rolled together in order from 1 to 8, so it’s easy to know which panels go where (for what it’s worth, we instantly separated the panels and were able to quickly see which panels belonged in which order).
The Process
Hanging the mural is a fairly straightforward process, but it is definitely involved. You need to be able to focus, use a timer, and have a couple of simple tools handy if you plan to hang this yourself.
First of all, we recommend using an X-Acto knife or box cutter with a fresh blade (this is important, because if the blade isn’t sharp, it will absolutely pull and tear at the seams when/if making cuts).
Second, we used a spray bottle to apply water to the back of the wallpaper, and we highly recommend doing this as well. This made the process quick because you can cover more surface area quickly and evenly without making a massive mess.
*Also, if you’d never hung wallpaper yourself, you’ll need to understand the term “booking”, which means to fold the wallpaper onto itself (on the adhesive side) — this essentially involves laying the wallpaper down, adhesive side up, watering it, then folding the top and bottom ends of the panel towards the middle, so they are almost touching. You want to make sure the folds are not harsh (so that the paper does not crease at the point of the fold), but that the paper does stick to itself well. This process activates the adhesive, and this is where you’ll need the timer to be sure you don’t let it sit too long — recommended time is included in the instructions.
Third, have a damp sponge or rag handy to help smooth any bubbles or wrinkles after applying the paper to the wall. This requires some patience to make sure it’s done well. Take your time wiping the bubbles and wrinkles so that they clear out without creating creases. You can also use the damp rag to re-activate any adhesive that isn’t sticking perfectly on the edges or corners.
Fourth, if you don’t feel comfortable hanging the wallpaper yourself, don’t have the patience for it, are terrible with following instructions, don’t have a ladder, or your roommate or “significant other” don’t want to help you with this process, it may be wise to consider hiring someone to do this for you.
The Result
Now that we’re going on 5 months with the mural, we love how much life it’s given that part of the kitchen. We get to keep the moody pop of interest that our previous wall color gave us without sacrificing the reflection of natural light that comes with a lighter color. The wallpaper has held up well, with no touch-ups needed. It’s even held tight around our electrical box! (We had to get very creative here, since legally you need to be able to access your breaker box. To make this work, we cut lines in the paper around the electrical box as we went, and then we carefully smoothed out the edges as we pasted the wallpaper to it. We can still access it, but it’s not disruptive to the mural itself. We don’t necessarily recommend trying this at home, but it has worked for us.)
Ultimately, we highly recommend this mural wallpaper. From process to end result, it was exactly what we wanted, and it was truly one of the more fun home projects we’ve done so far.

The scalloped lamp shade with color stripe makes it all come together. Stellar wall mural! Resource for shade, please!
Hi Kelly! Thanks so much! I just added links to everything in the image from this post. You should see a carousel of product images beneath the main image now. The link to the lamp shade is included there!
[…] we take a minute to admire Anna’s new wallpaper? So […]