

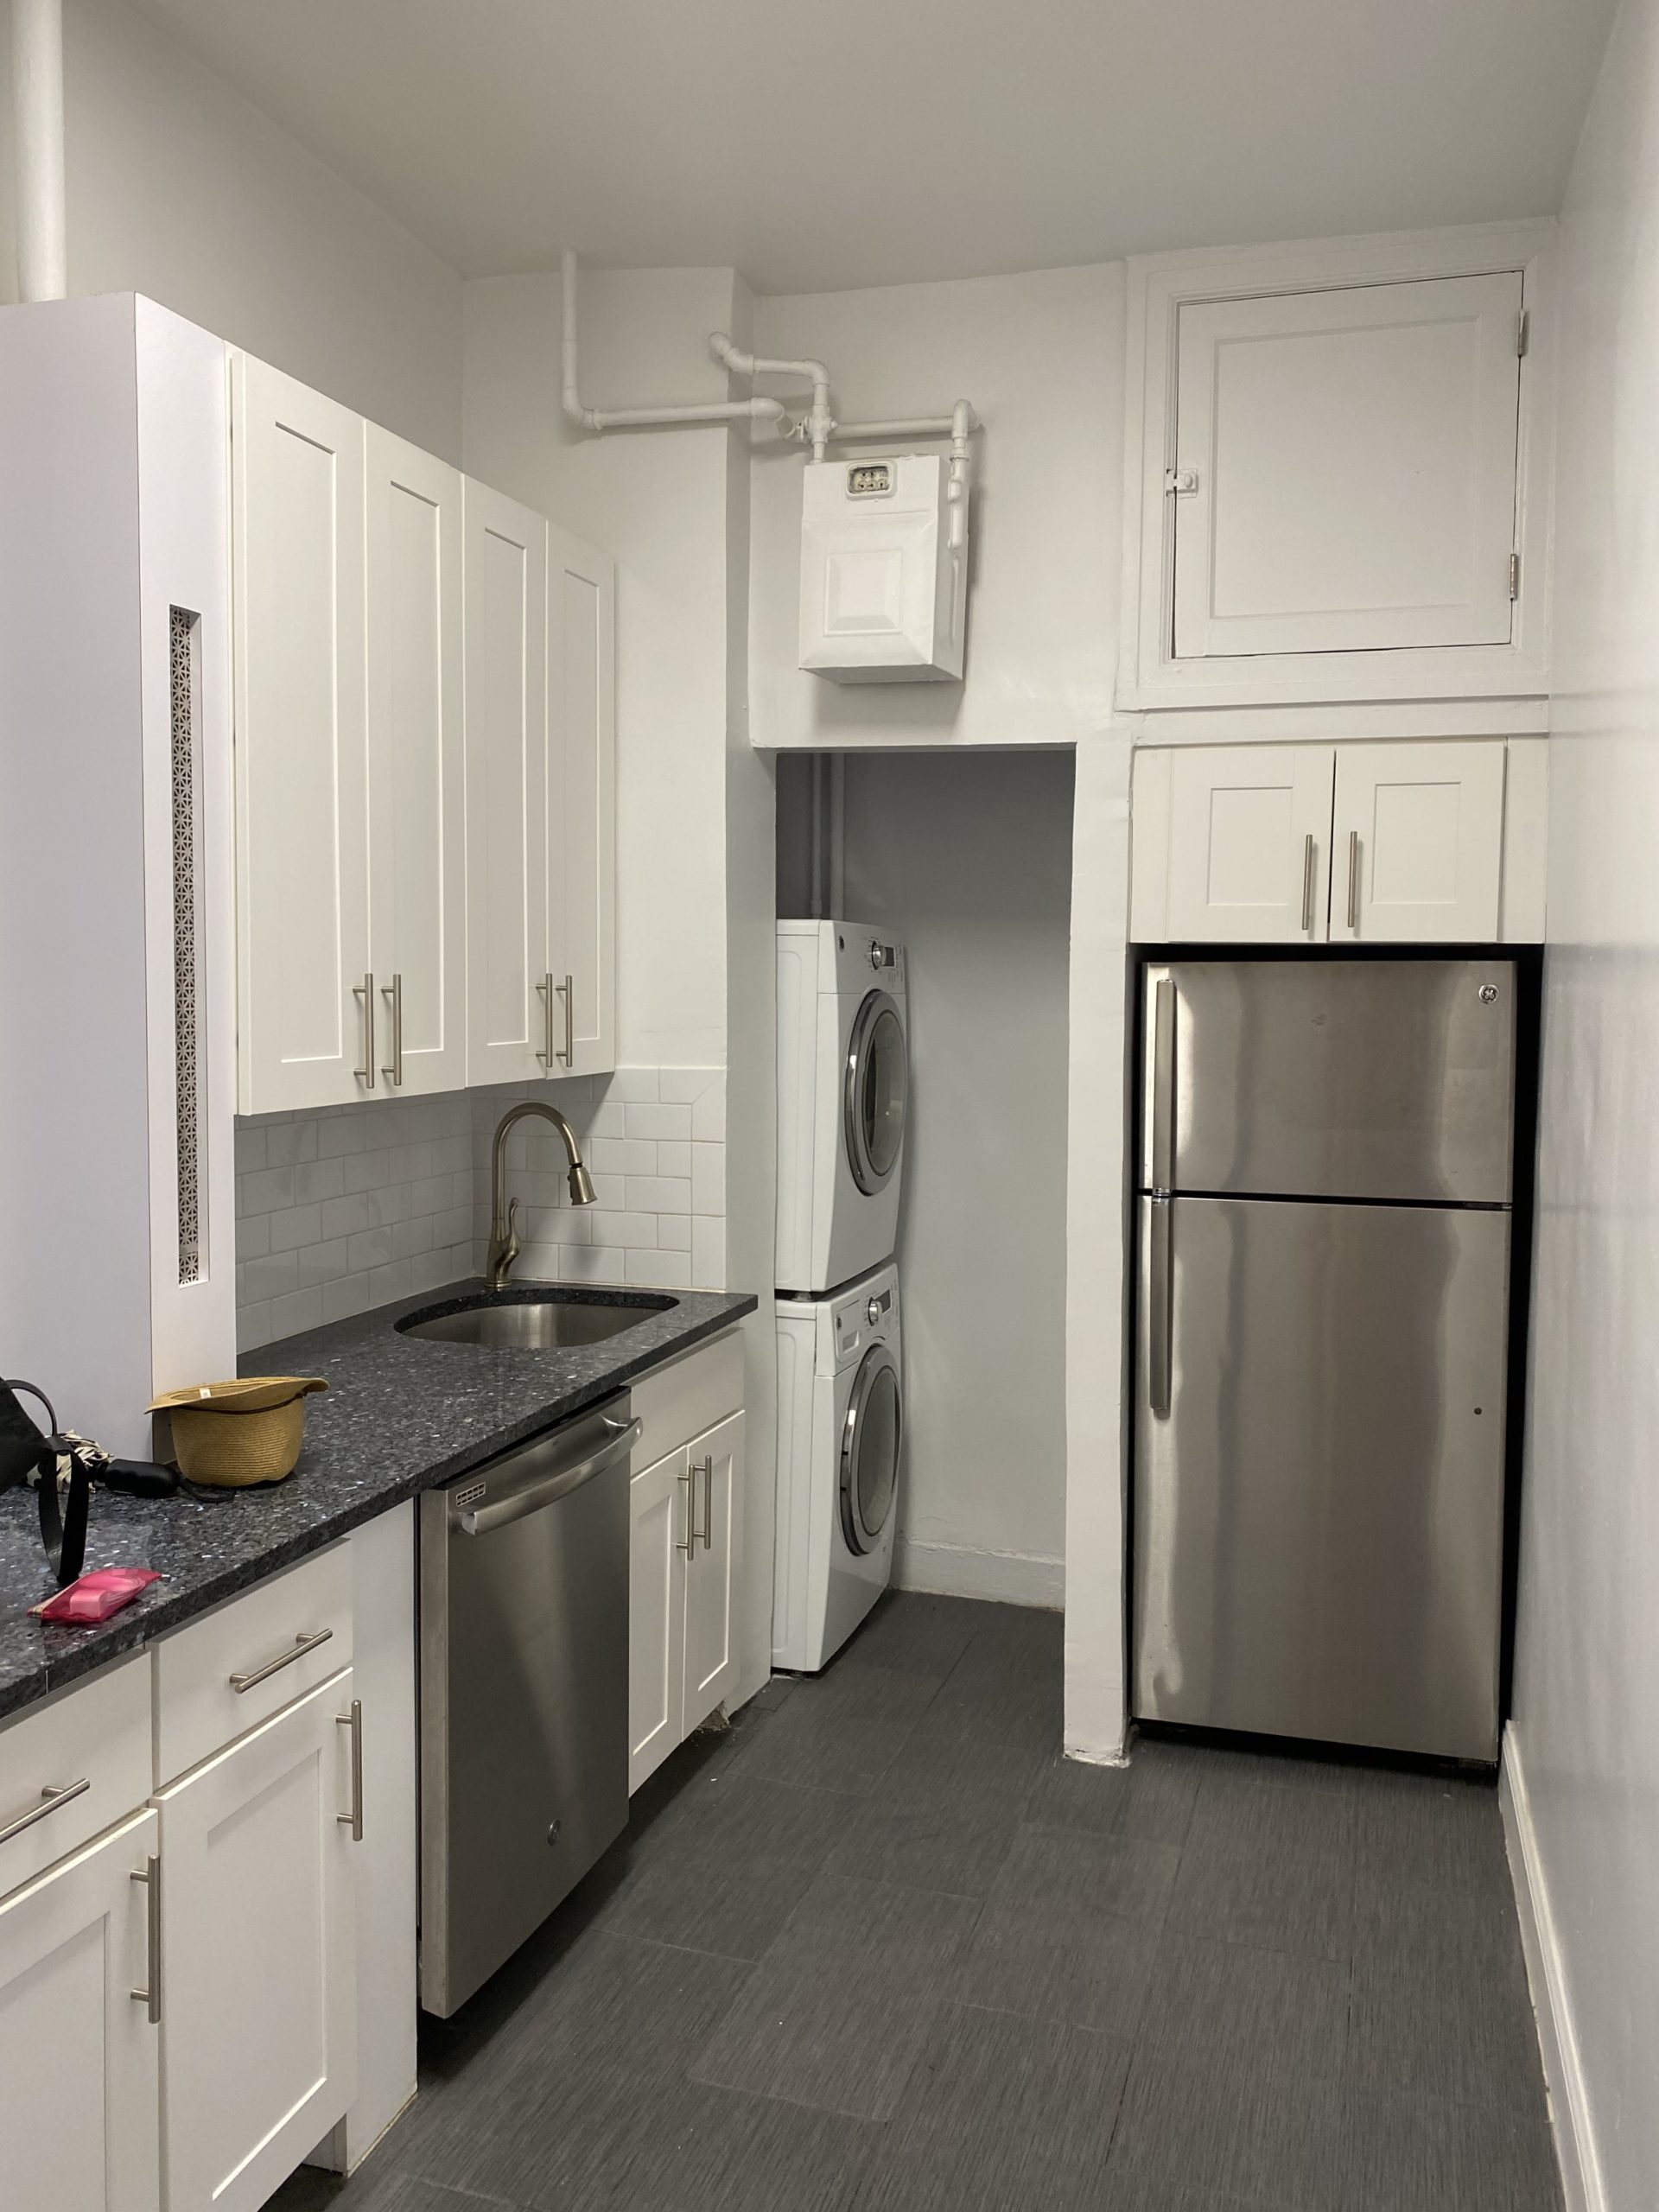
Our kitchen tiles were one of the few pieces of our apartment that I felt needed a bit of a refresh. They were dark grey and, frankly, super boring, especially with how much character and charm the rest of the apartment had! I dreamed of having black and white tile floors but knew since we were renters, a permanent flooring wasn’t an option. I had heard there were some renter friendly flooring, so I started doing some research of my own into what my options were! I went into detail about the rest of the transformation here, but I hope the rest of this guide offers helpful tips for installation and maintence!


I ordered so many samples but I learned quickly that when It comes to black and white tile, the difference between Kris Jenner and Auto Zone is very small! I found this shop on Etsy and they had thousands of amazing reviews so I decided to order a couple of samples and give them a shot! They were a little more pricey than something like this option, but I loved the matte finish and that I could customize the sizes.
THE DETAILS
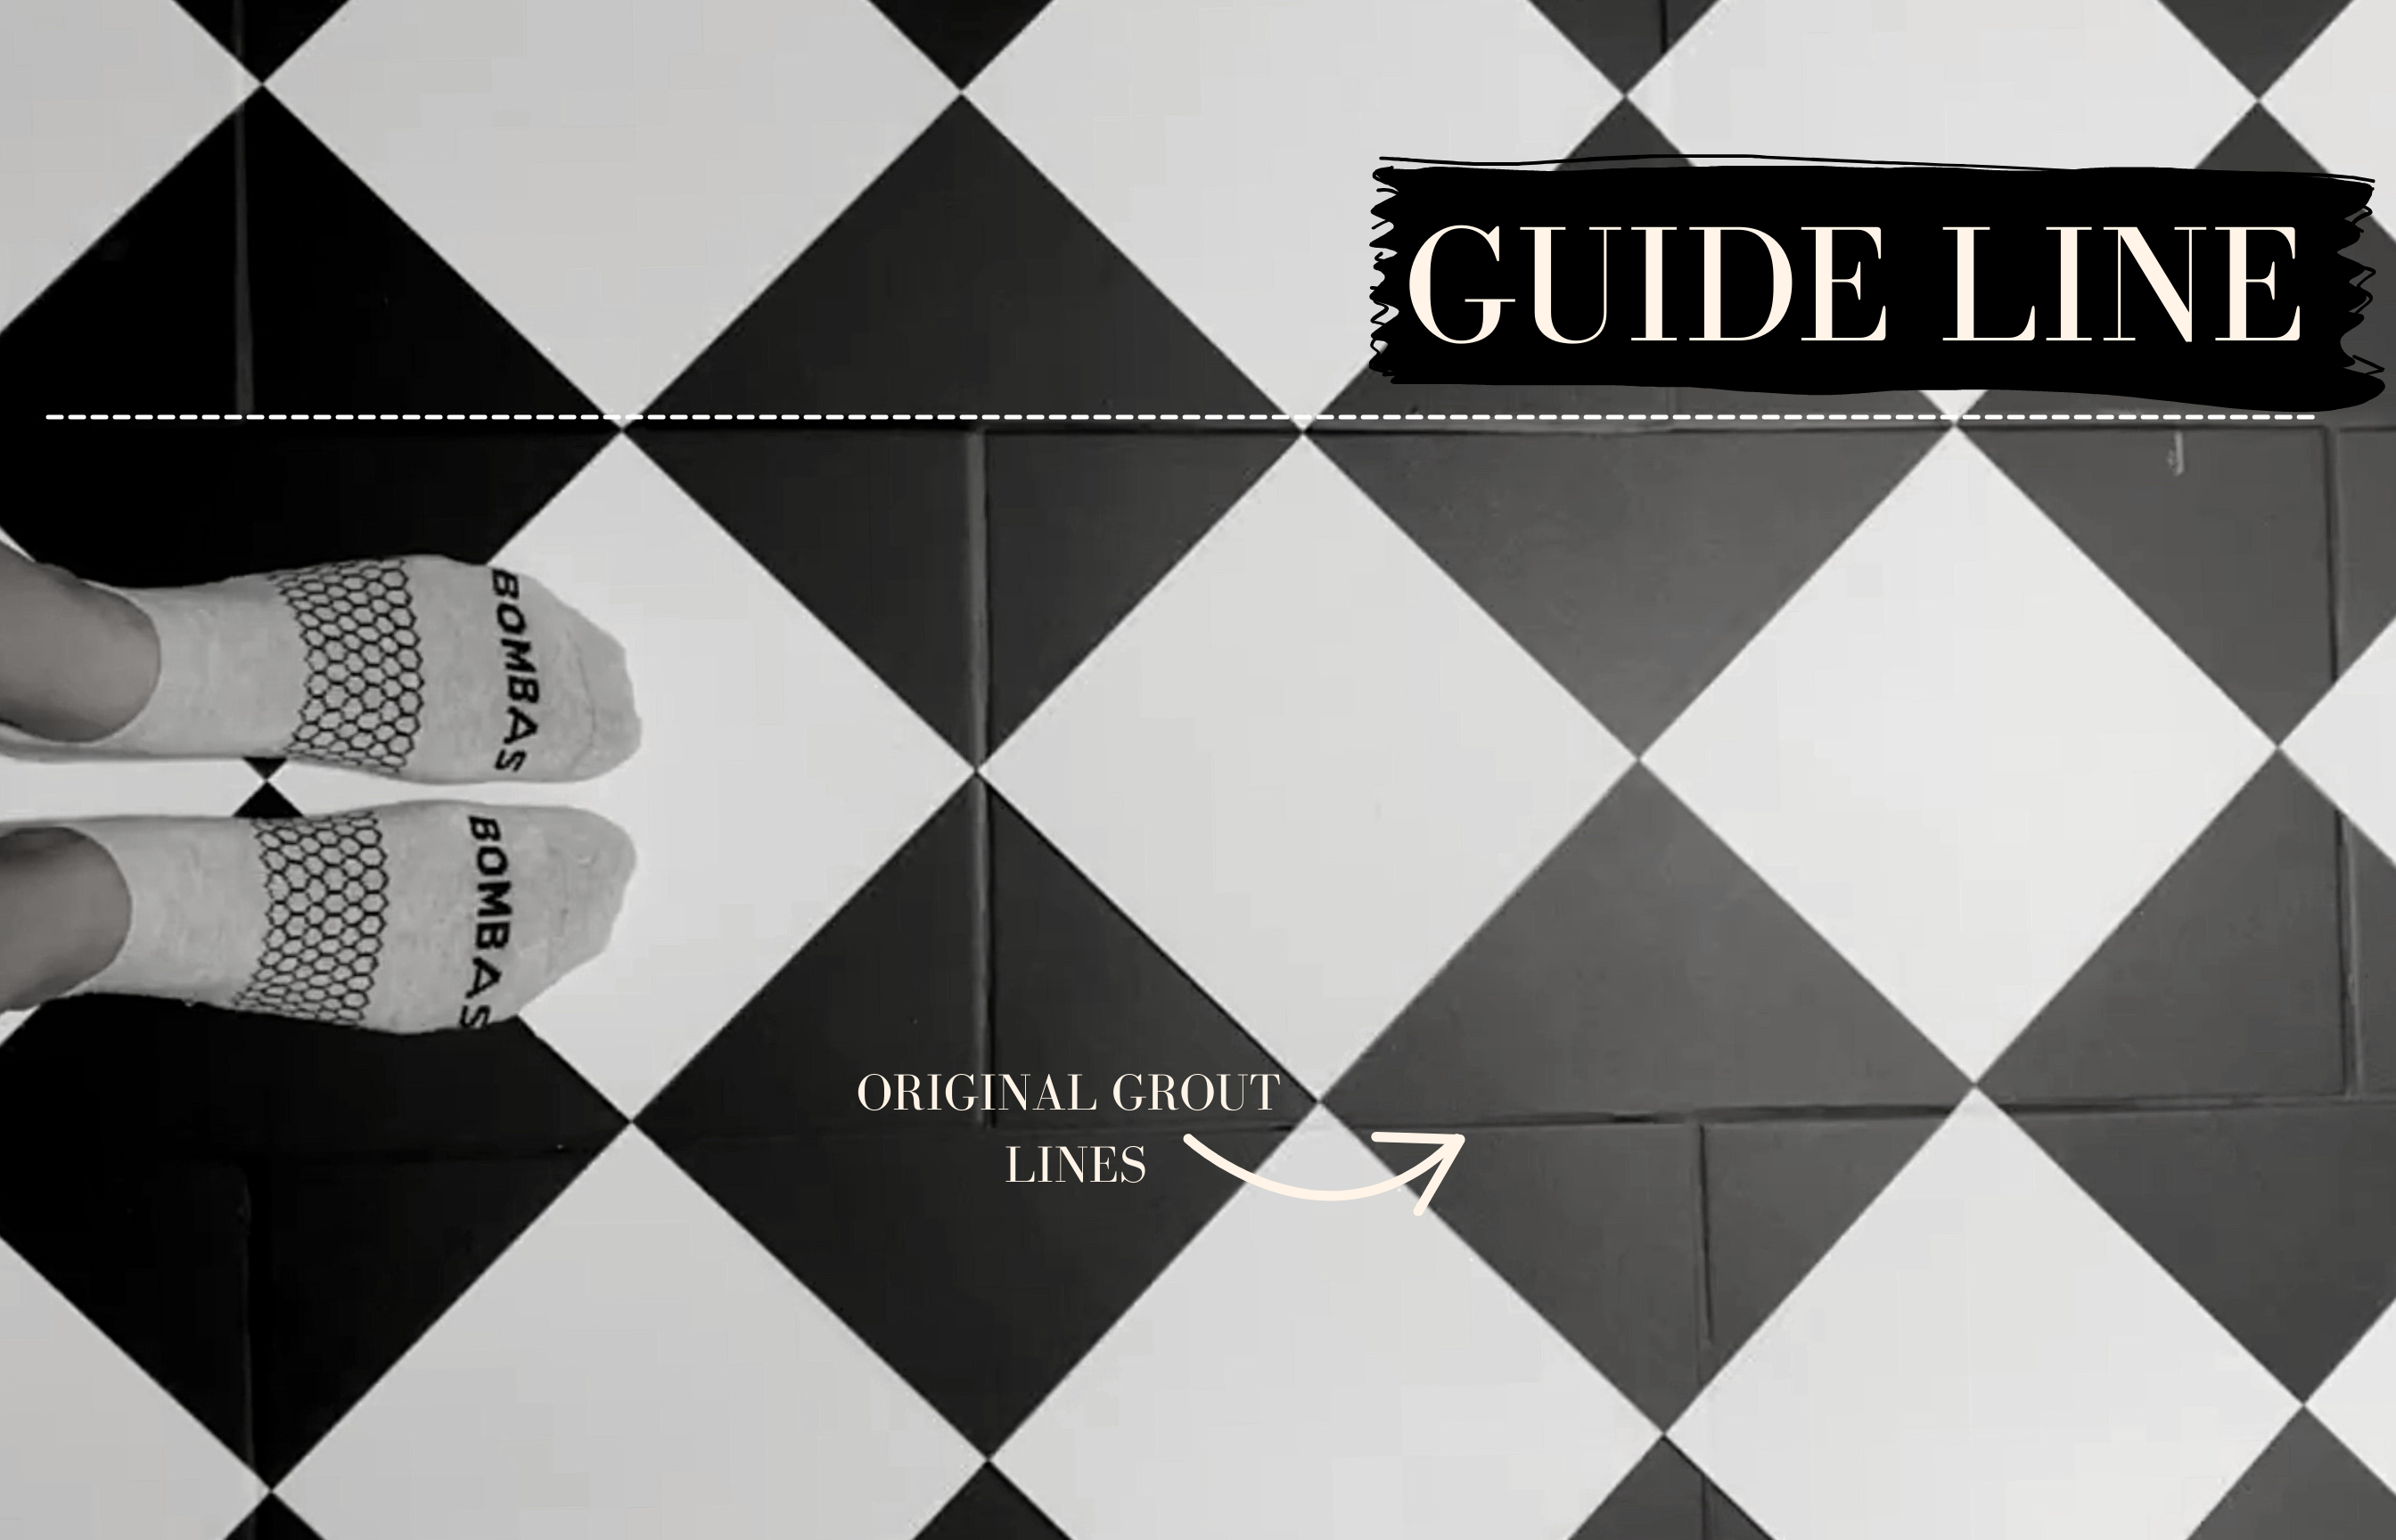
The instructions for the type of peel & stick tiles I purchased says to match up the sizes of the original tiles and the news ones. I didn’t do that because the patterns were completely different so I would’ve had to do a different design and I was committed to the black and white floors! I haven’t had any issues with It. You can see the grout lines a little bit but because It’s a busy floor, It doesn’t bother me. We purchased the 8×8 size.
PREP the tile with a really good clean before applying the individual tiles and chose one line to be the guide and lay them in the alternating pattern. Fill in from there with same pattern all the way through.

DURING the process, when you first lay these down, you have one stick to bring them back up and stick again, if needed. I wouldn’t do any more than that or else It may not be sticky enough. When you get to the baseboards or cabinets, stick as much as you can and use an X-Acto knife to cut the edges. These particular tiles cut really easily so I was worried about that part but It was really simple.

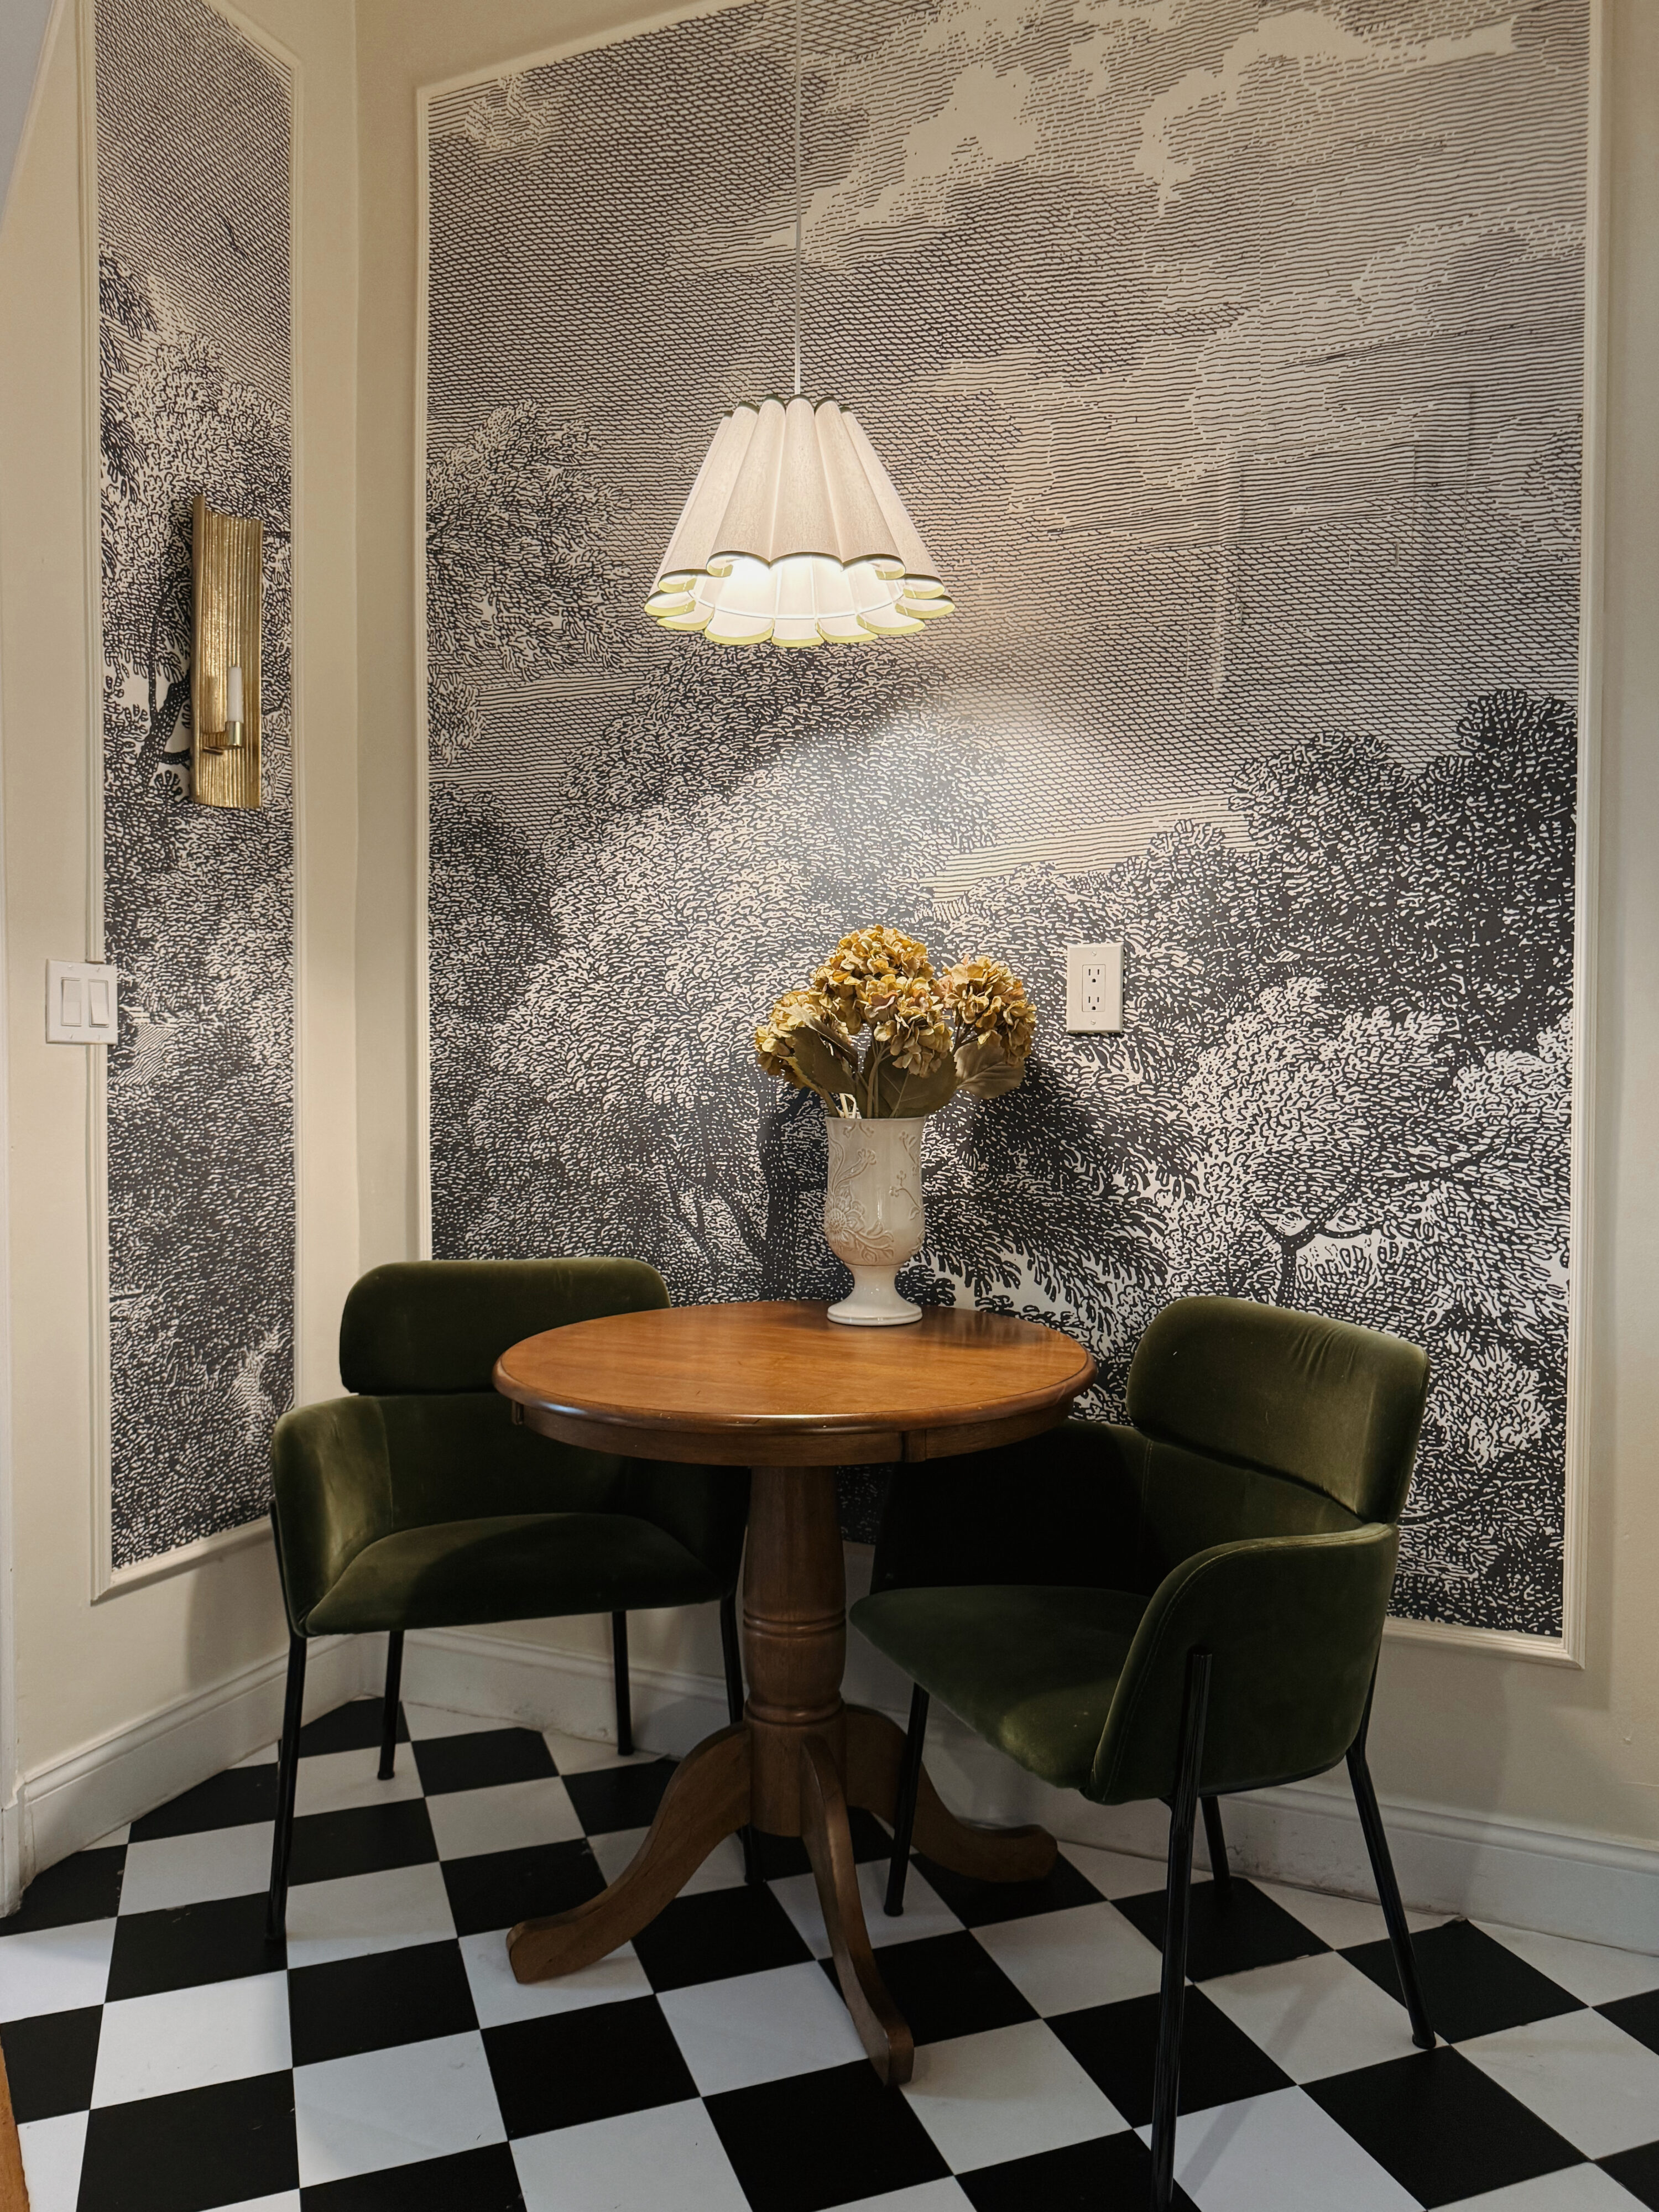
AFTER you’ve laid down the tile they can be walked on immediately. My biggest suggestion is that ANY furniture you put on needs to have furniture pads. We made that mistake and need to replace a few from where the chairs scratched the tiles.
CLEANING the tiles is simple. We don’t vacuum over them but we are able to sweep and will spot clean any stains we need to! They are said to be water resistant and are totally fine to walk on.
HINDSIGHT
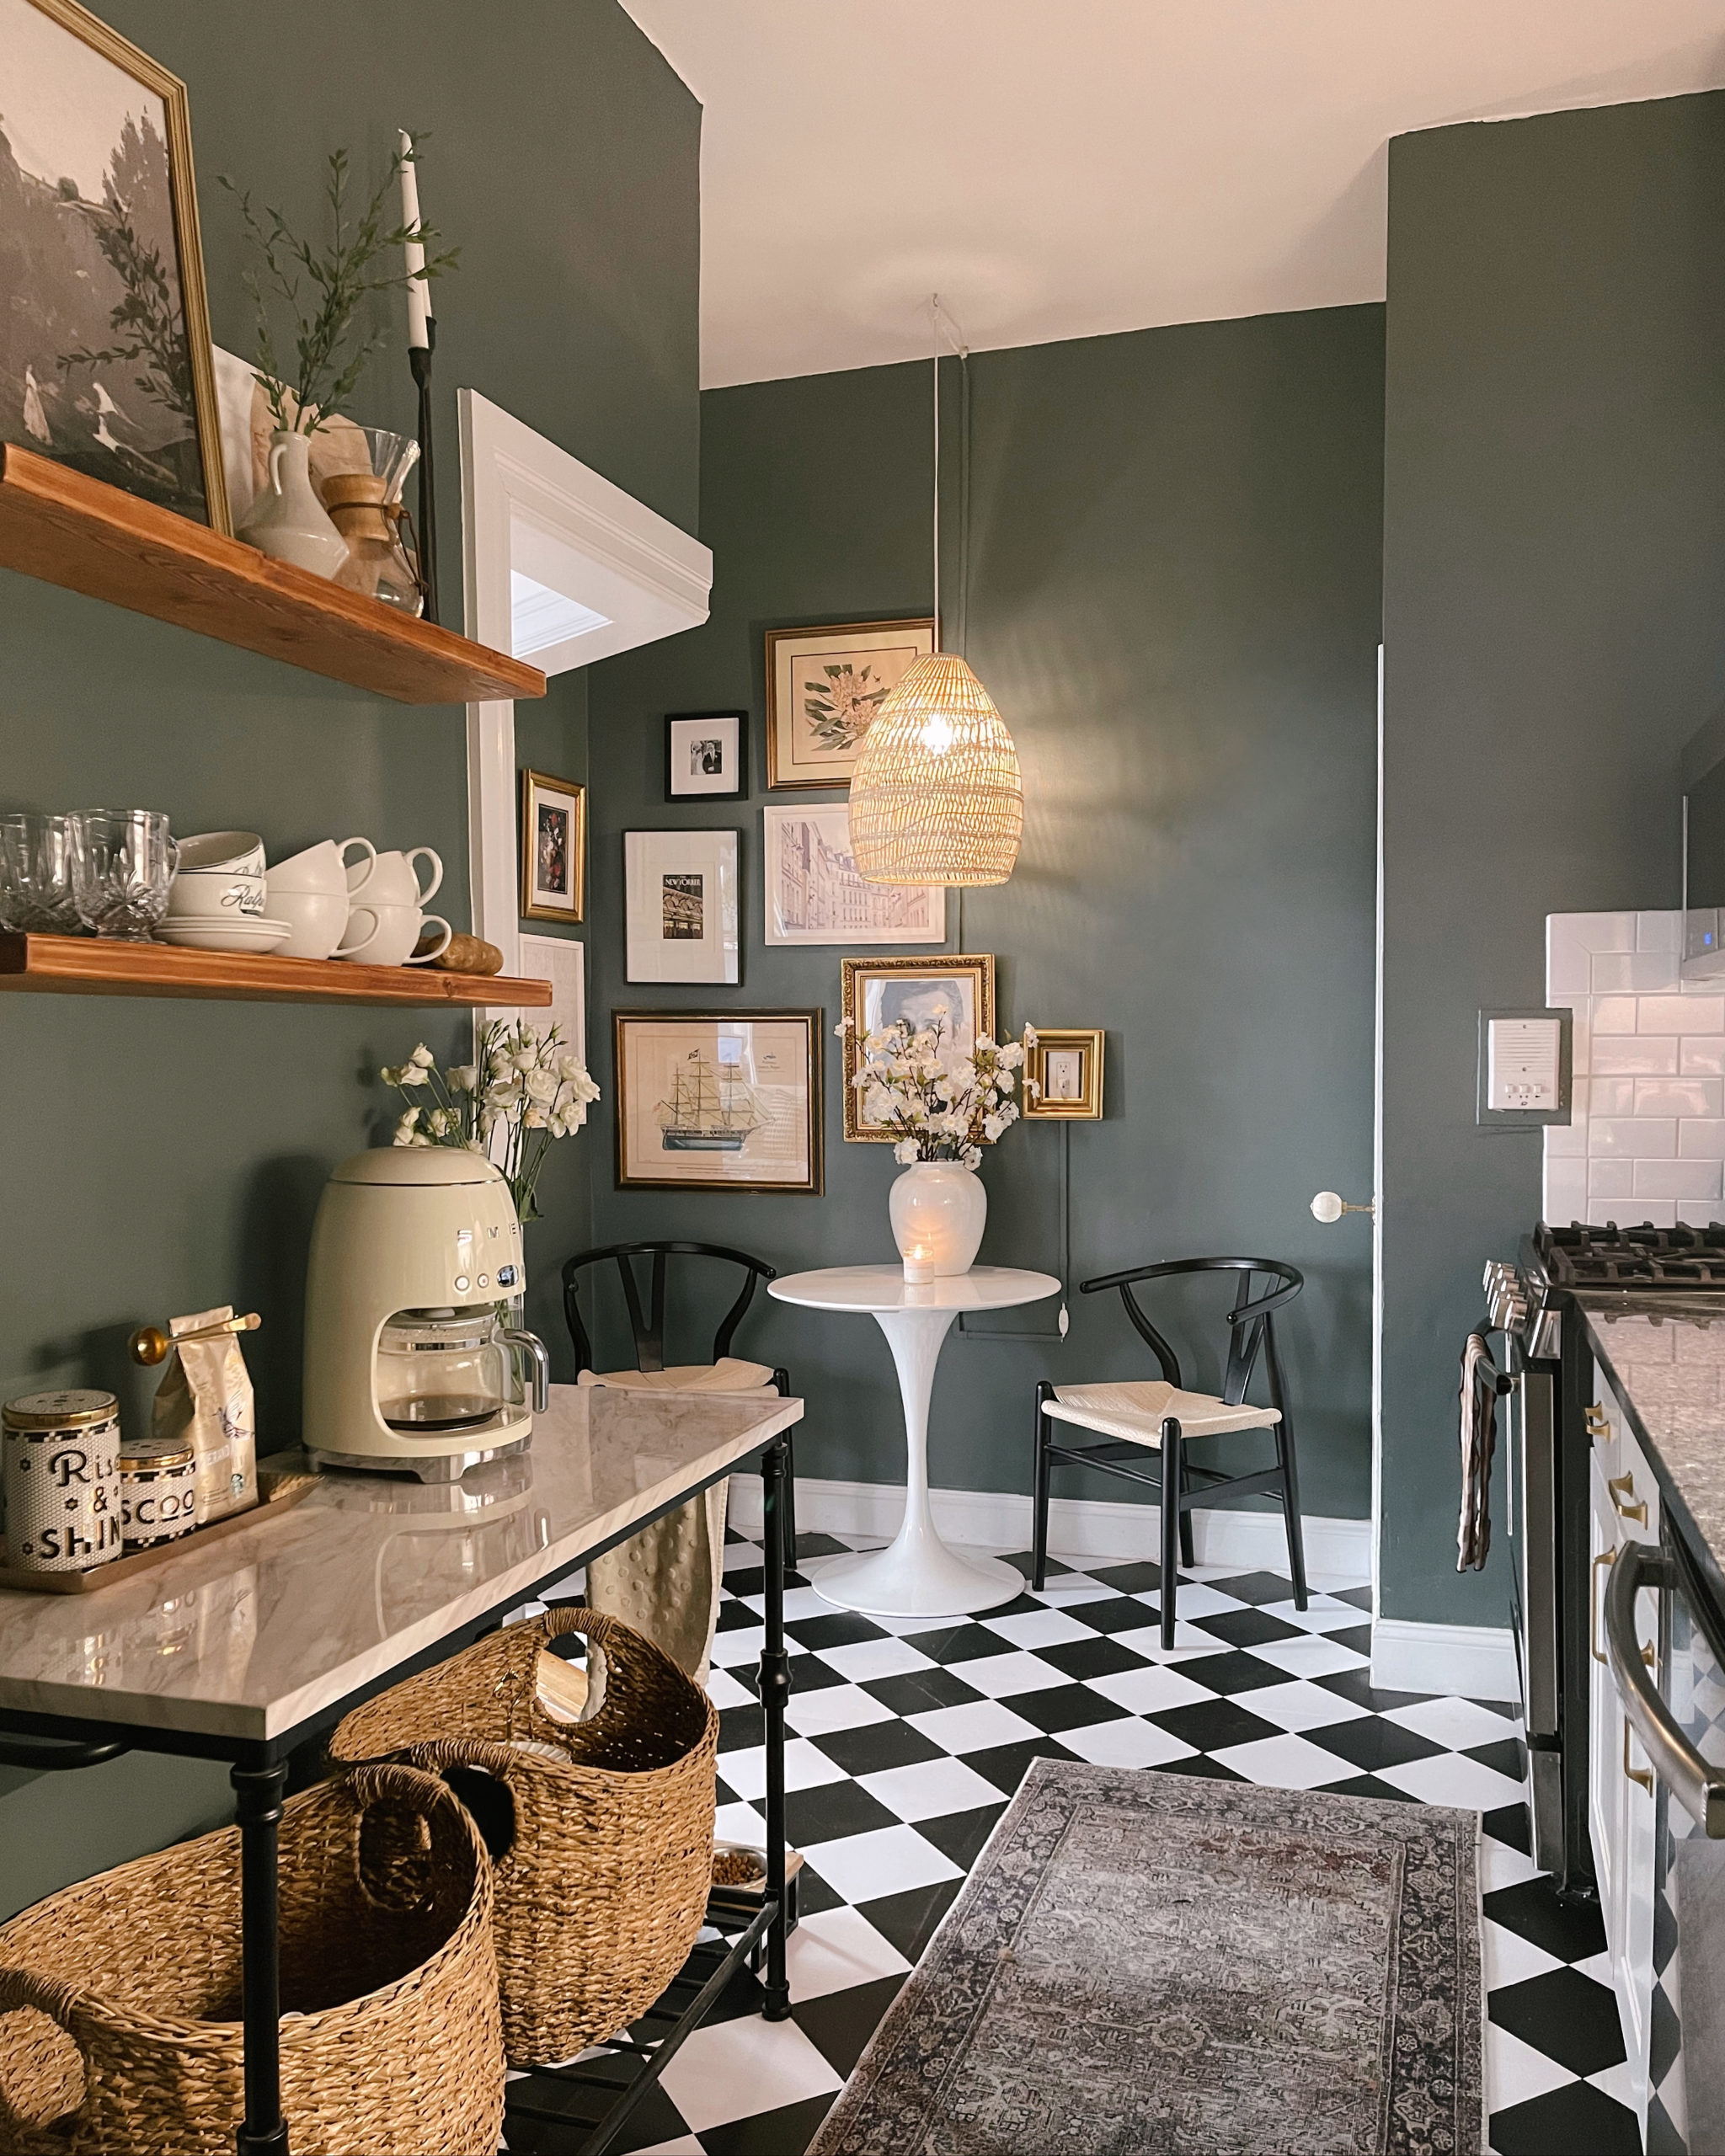
The total process took me three hours and I did the installation by myself. I wish I had been more thorough in my cleaning, especially since I was covering the grout lines (again, they advise NOT doing this…but I’m a rebel). If you want a seemingly quicker and more cost effective option and you aren’t AS picky about the look, these would be a good alternative! It is by far my favorite transformation in my apartment, and I would 100% do It again. I hope this helps!
Xx,
Anna