

When we first created a nursery for our son–back when we lived in New York–we wanted to give it a unique feel. We wanted it to come across as almost comically grown up and lived in–a space that felt like a cigar lounge but was actually meant for serving bottles of milk at 2am. We pulled inspiration from The Polo Bar, Aime Leon Dore, among others to create a miniature speakeasy nursery. The juxtaposition of a cherubic newborn against the musky maturity of the decor gave an unexpected and welcome change from what we had been seeing.
We’re truly flattered that it’s since become a trend in nursery decor (which, too our knowledge, did not exist before we did it *pats self on back*), but as we moved to a different home, and our son has grown from a baby to a toddler, we knew we wanted something different. We’ve opted for brighter colors, lighter wood, and a softer feel. Maybe we were ready for something fresh and new, or maybe we’re subconsciously trying to preserve his innocence through our decor choices–who’s to say?
One of the biggest reminders I stumble into with home decor is that little details often bring the biggest impact in a room. Yes, a massive chandelier is a show-stopper, but what really brings makes a space feel complete are the vignettes, corners, and overlooked nuances that imbue it with charm. This is a helpful tip to keep in mind, especially when dealing with budget constraints, because you can completely change the feel of the space without having to swap out expensive pieces of furniture.
A standout decor choice we made in our son’s room was the wallpaper: powder blue and white vertical stripes. We added a few small red accents (lamp shades), and painted the trim blue to match the wallpaper, which makes it pop more and creates a cohesive look.
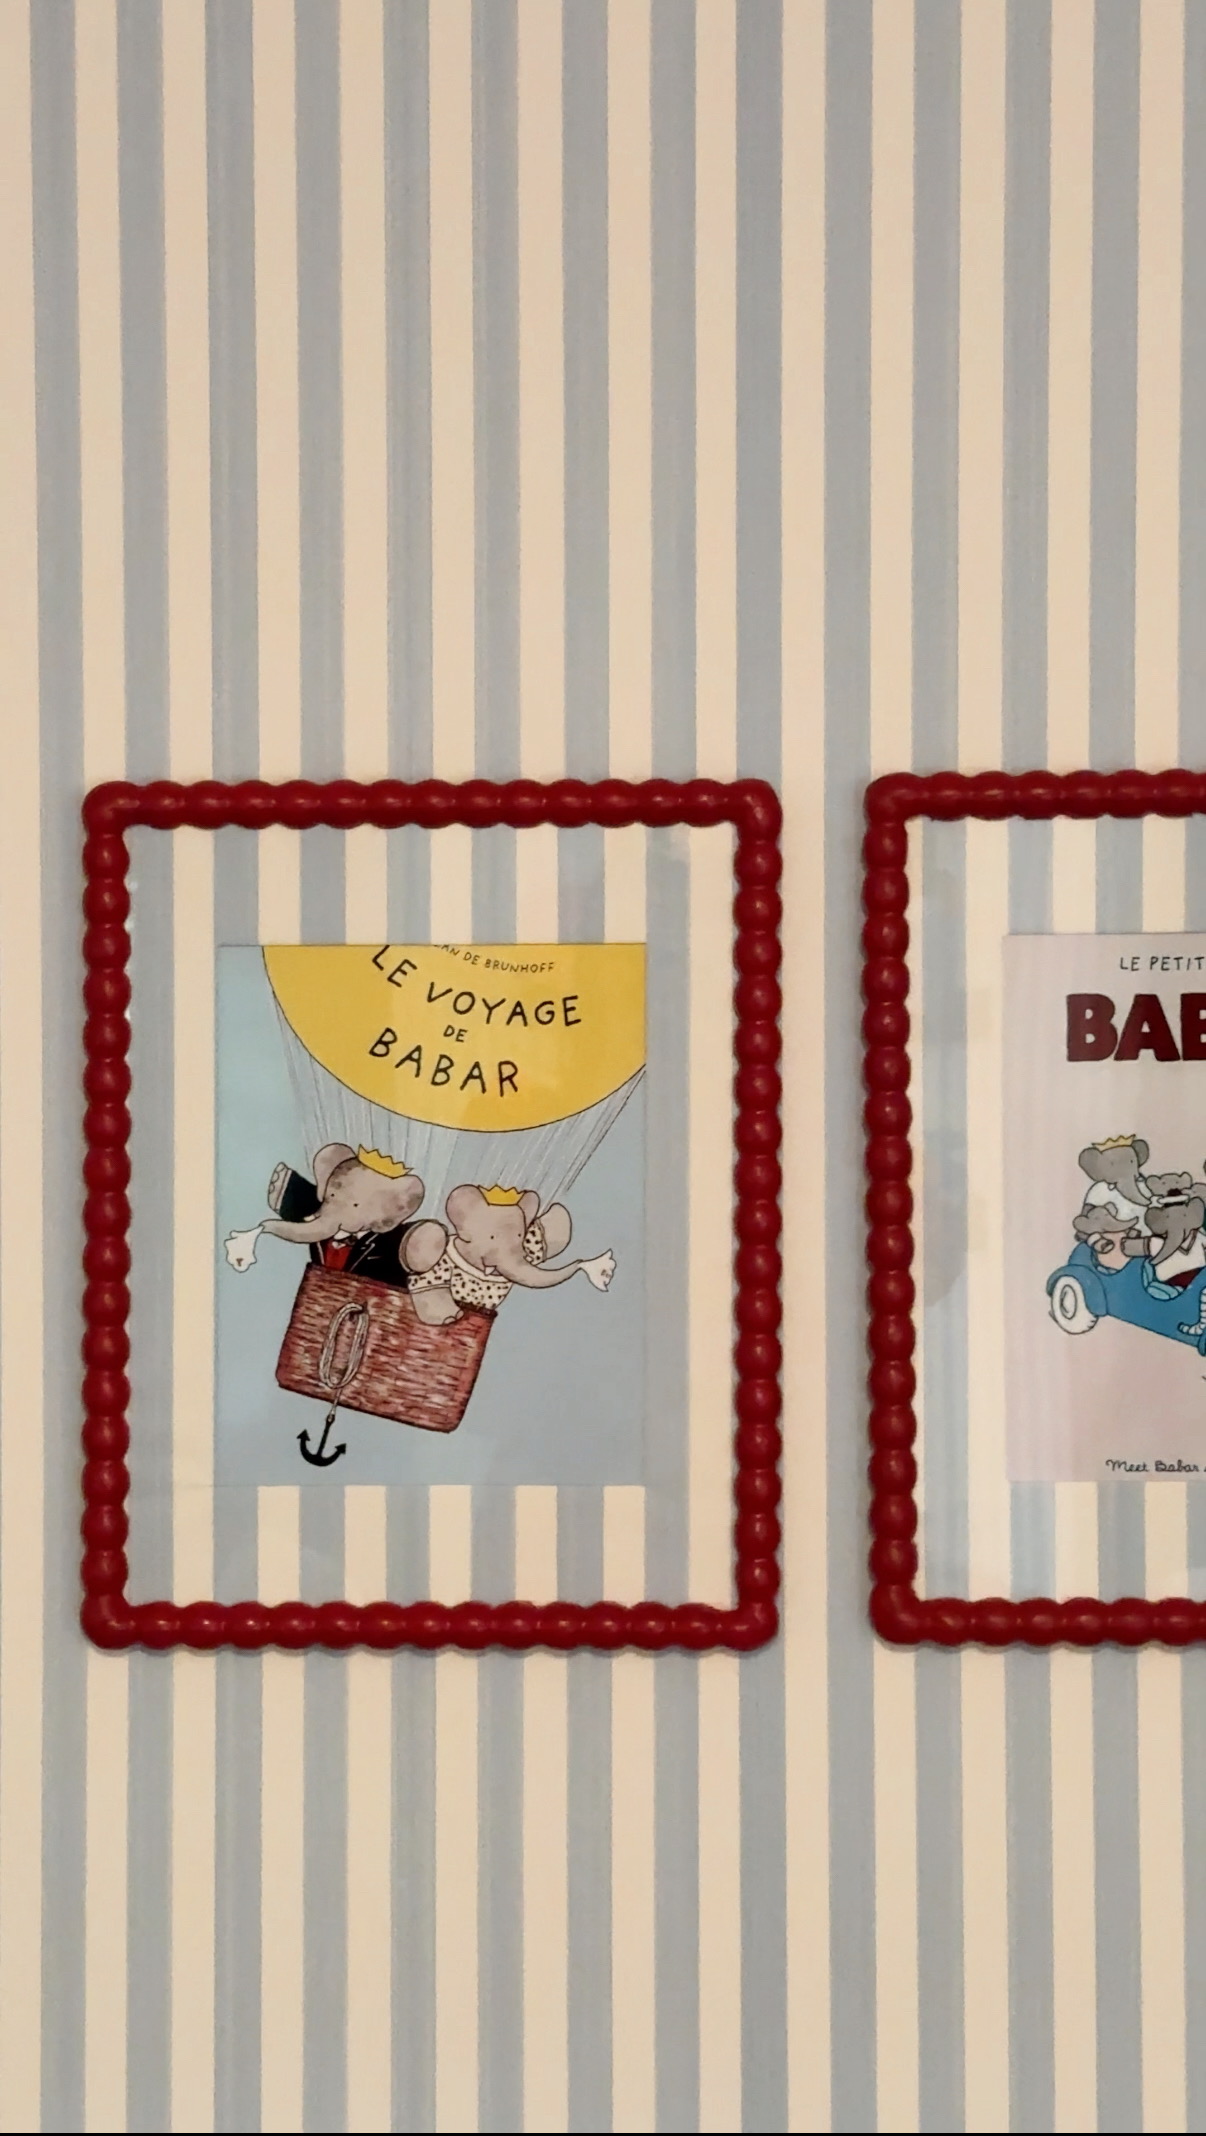
As I started to add more decor to the room, I knew we needed to bring something to fill one of the empty walls and really add interest beyond a standard gallery wall, and I had some leftover wallpaper… that’s when the idea hit me: What if I used the excess paper on the matt of a picture frame to accentuate the wallpaper choice even more?
Now, as some pointed out on my IG video, I absolutely could’ve just used a floating frame to achieve a similar look. These are great options in some cases, but they do create a decidedly different effect than the actual continuation of the wallpaper. I wanted to add more dimension, and sometimes a floating frame can actually dull the vibrance of the wallpaper or paint color, whether with glair on the glass or shadows from the frame. By using the actual, physical wallpaper, the result is far more polished and full!
The end result is exactly what I was looking for! Since we’re steering clear of more ornate frames in this room, this small detail adds a pop that stands on its own and further embellishes the other choices in the room–and honestly, it was a fun way to make use of wallpaper I would’ve otherwise tossed!
If you’re looking to do something similar in your home, the good news is you don’t need much!! I just used the leftover wallpaper, two $18 picture frames, and a sample pot of paint to get this done. (Painter’s tape and a paint scraper for the glass helped, too!)
Steps to Repeat:
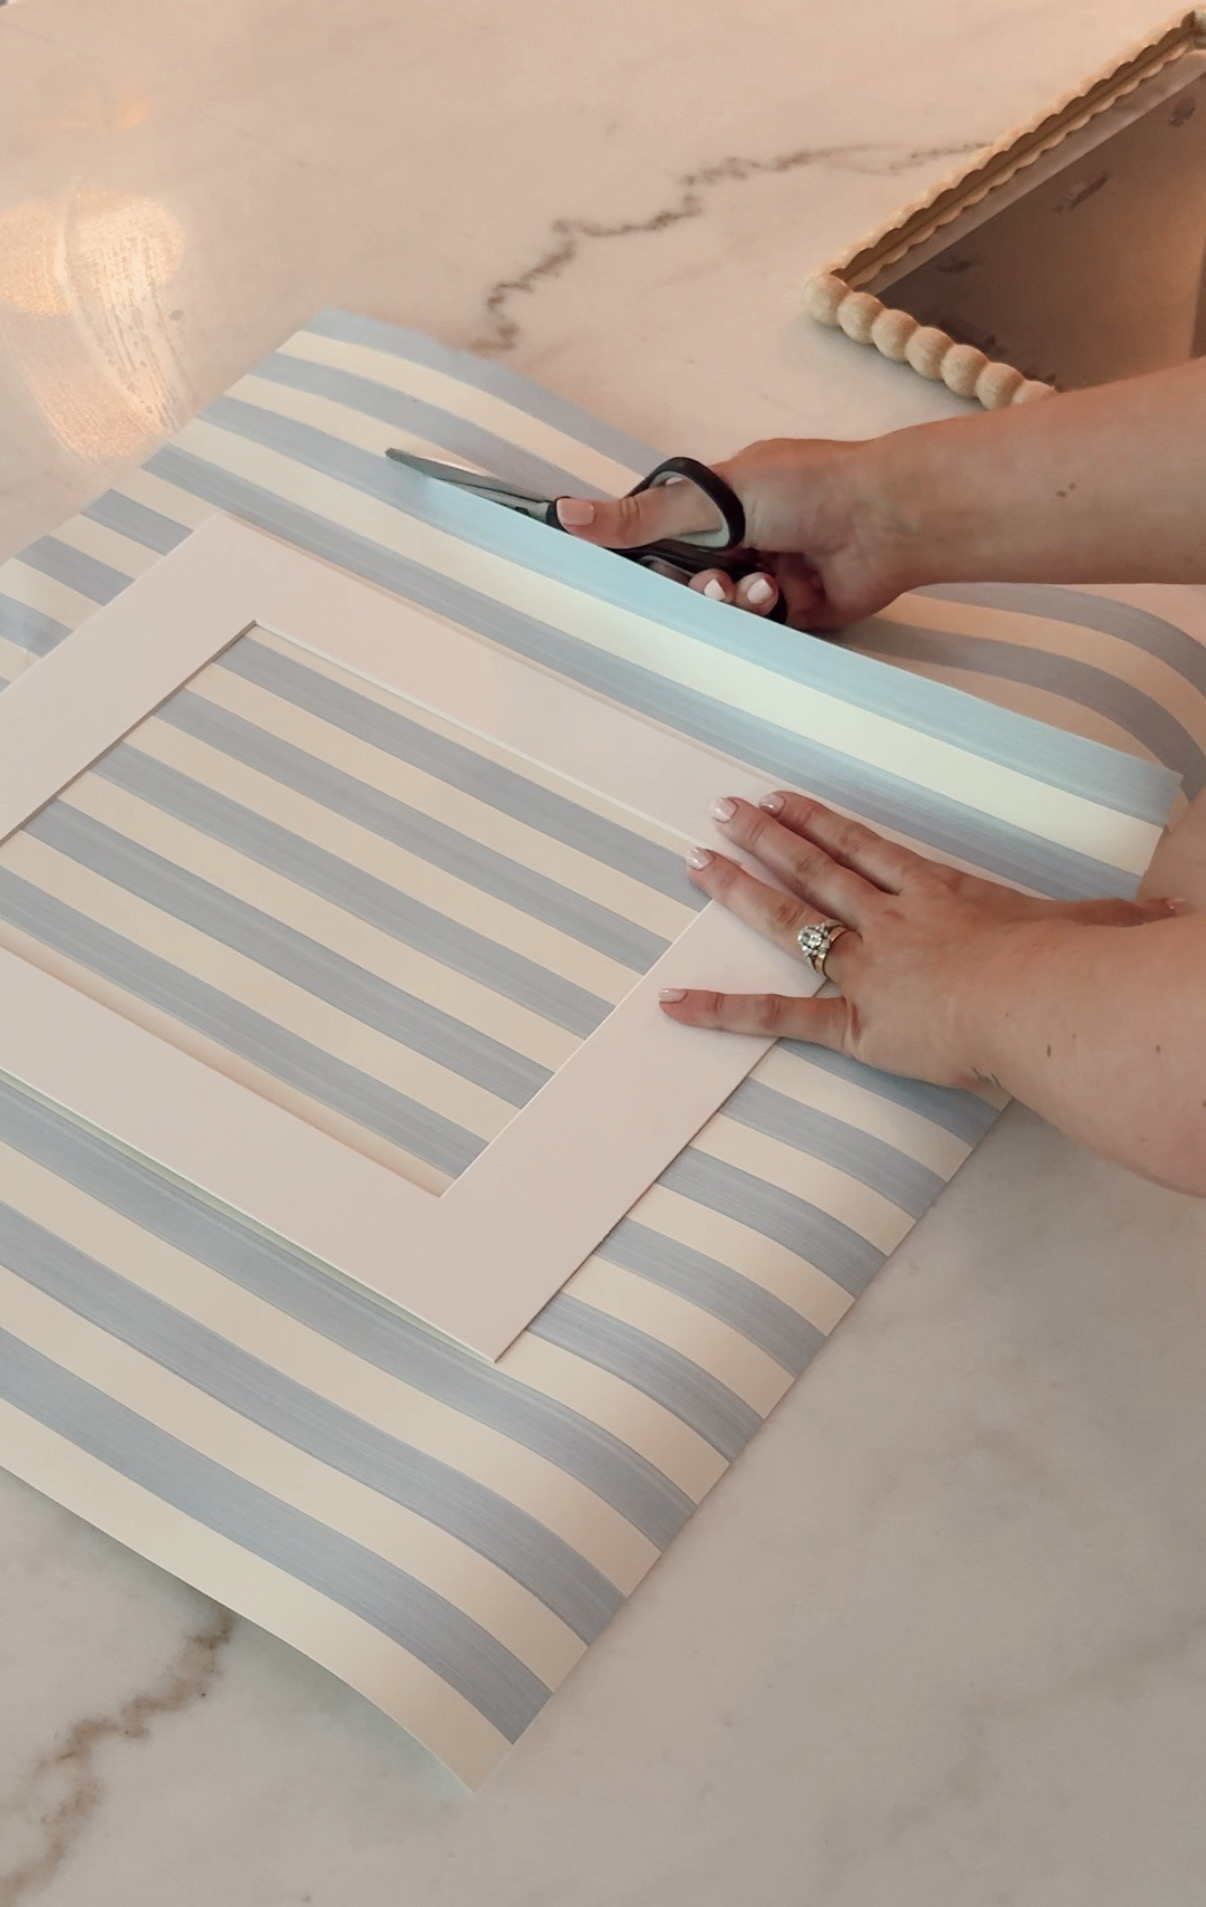
- Take the matt out of your frame, and then cut your wallpaper into a rectangle large enough to fold around the edges of matt. Once cut, fold the edges around the matt.
- Make one angled cut at each of the corners (4 cuts total) where the paper will fold around the matt. These cuts will frame your center cut. I did about 1 inch out from the corner, so that I had plenty of room to fold on the back side of the matt. Once those cuts are complete, you can cut out the center of the wallpaper rectangle.
- Fold and tape the wallpaper around the matt. The cuts, folds, and taping should feel a bit like wrapping a Christmas present.
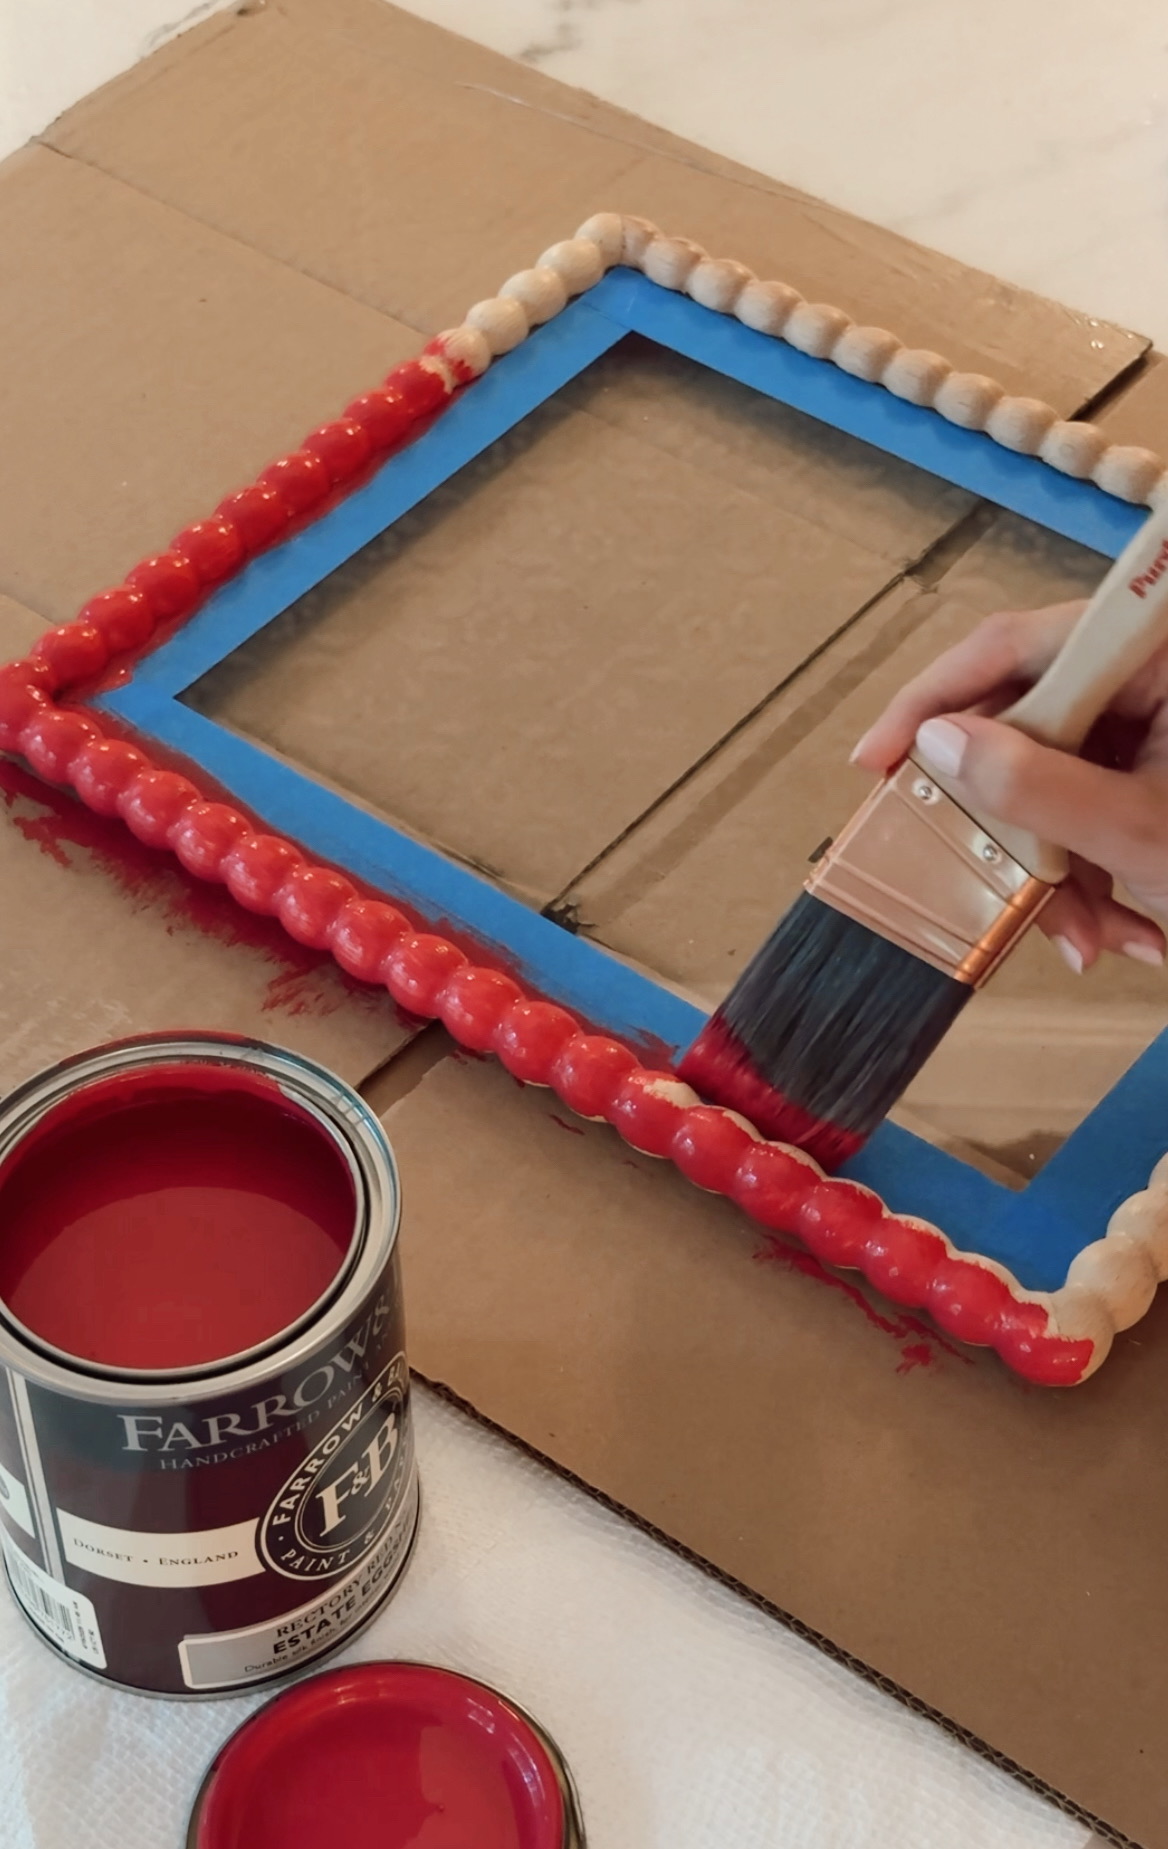
- The glass is not removable on these particular picture frames, so I recommend taping the glass before you paint. I still have to scrape a bit off the glass, but that part was very quick (and slightly satisfying).
- The paint also required 2 coats to achieve the deep red color shown, so keep that in mind when you see the first coat applied.
- Once all coats of paint are dried, it’s time to put everything together your frame!
If you want to recreate the exact frames, just click here or shop the links below!


0
Comments
• leave a comment •